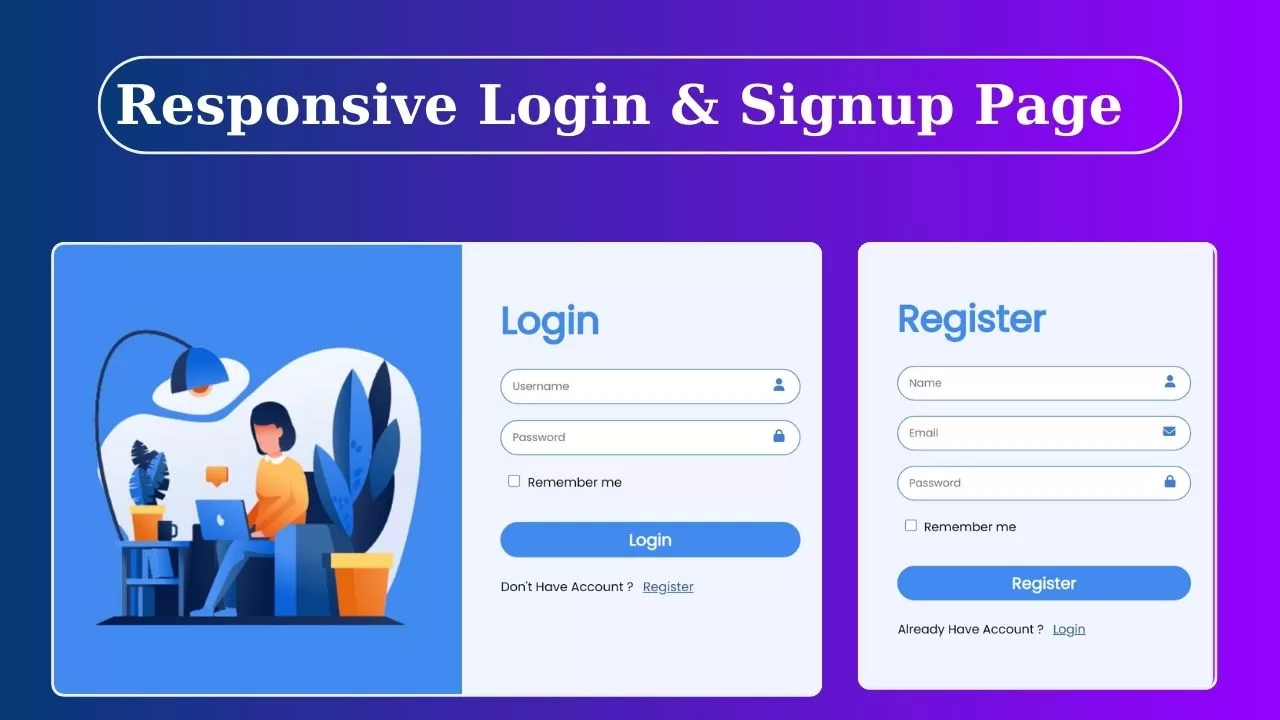
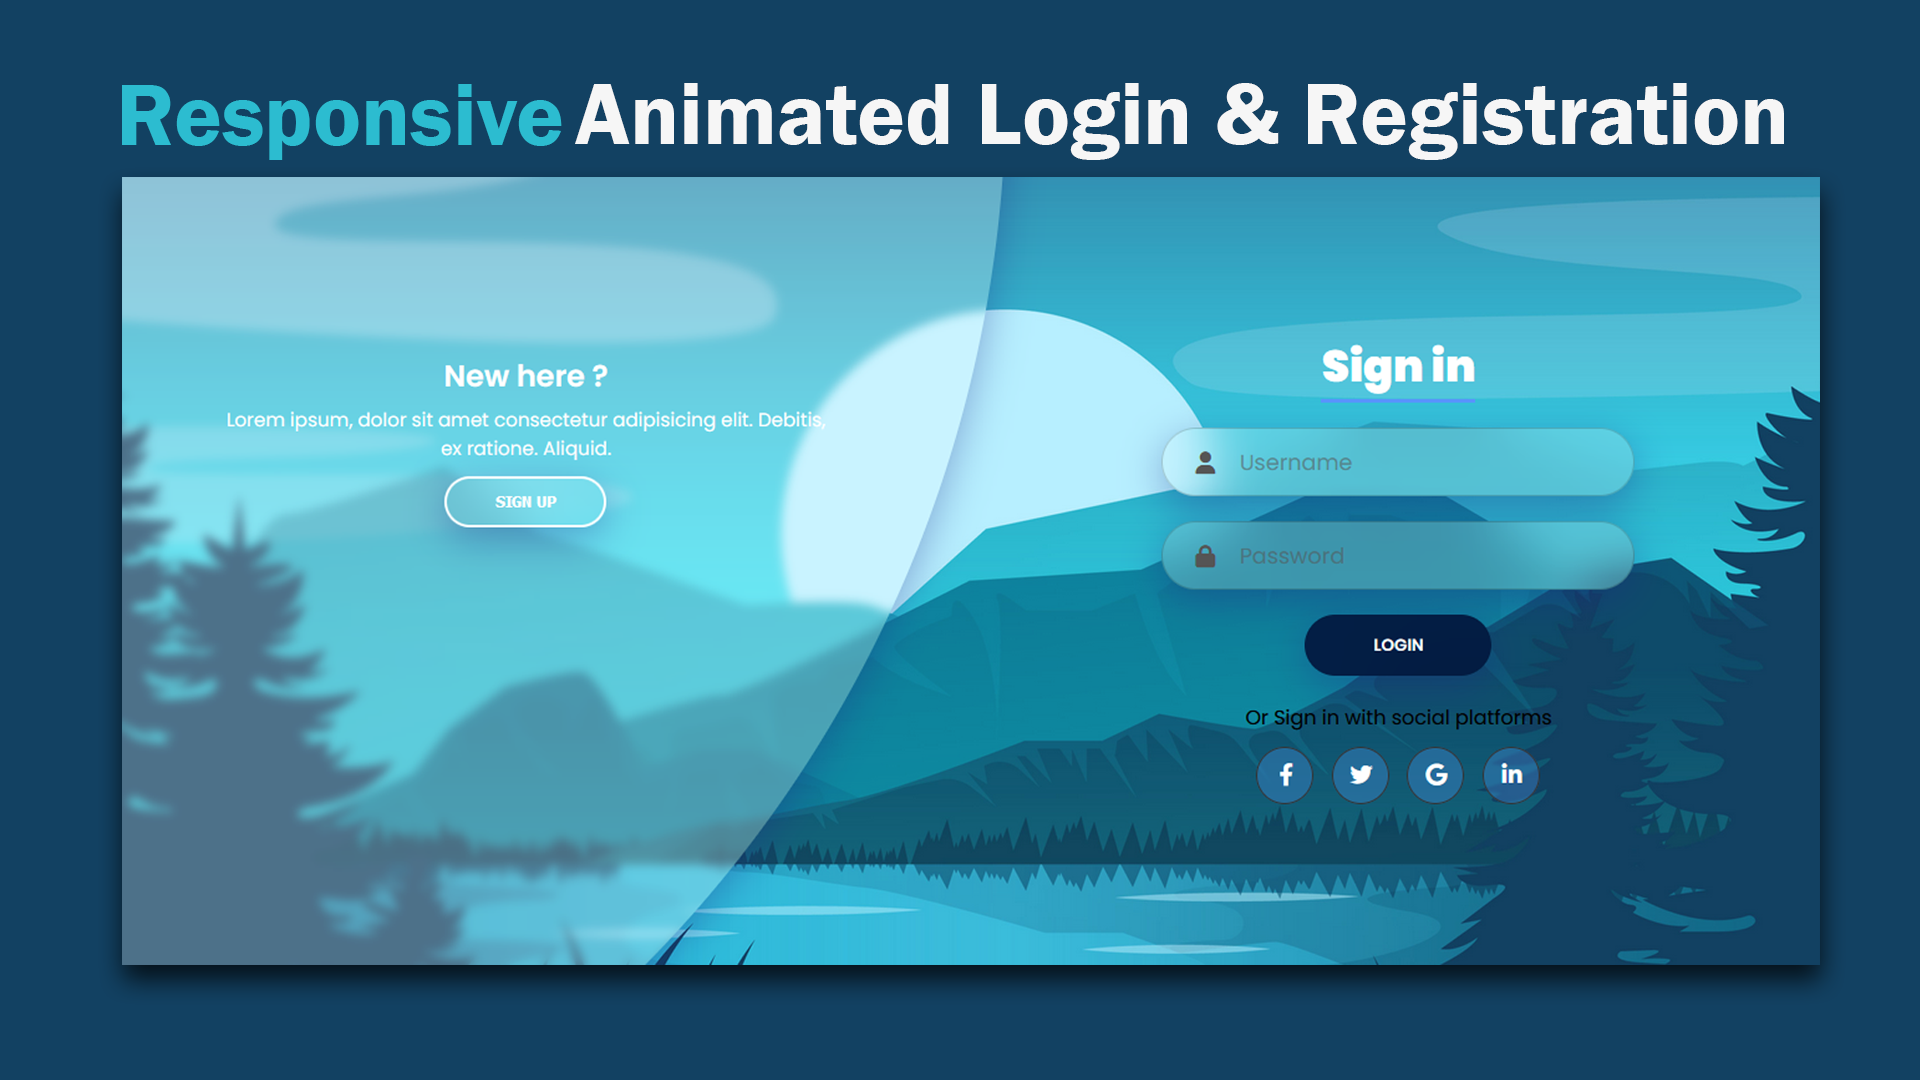
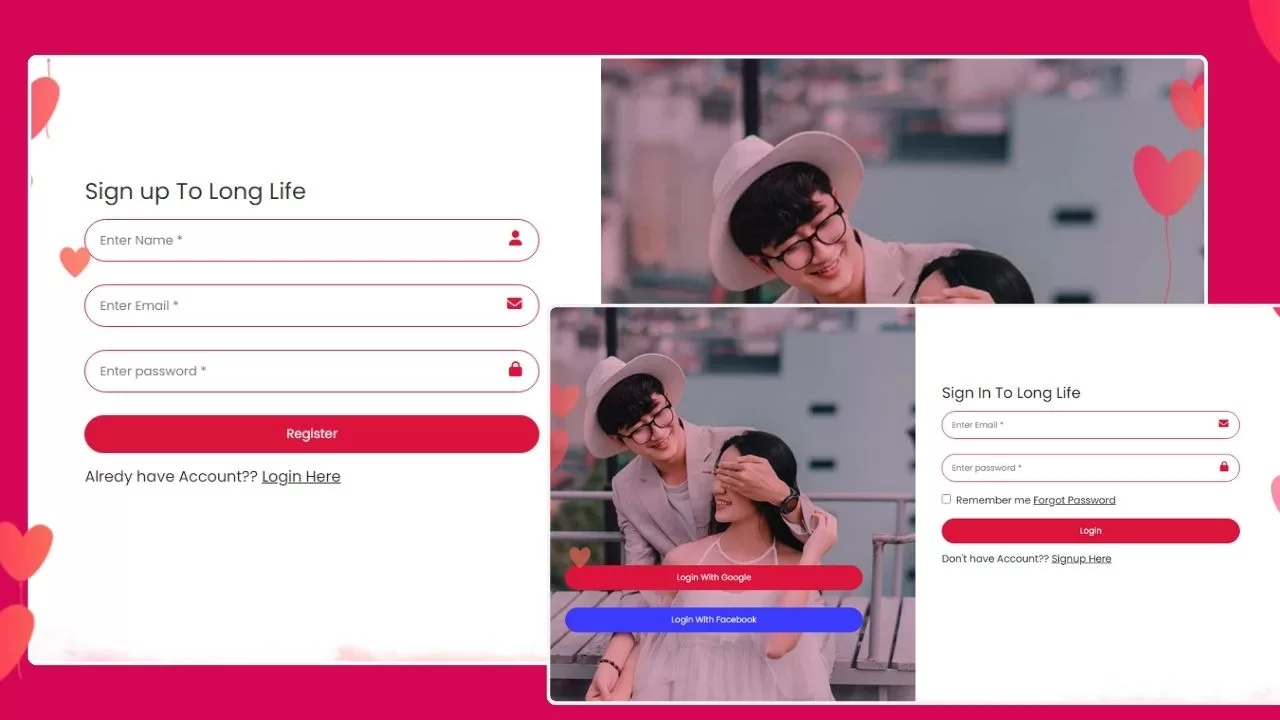
The purpose of an Login pages confirm a user’s identity before granting access to personalized content or services, maintaining security by verifying credentials And Registration pages enable new users to create accounts, granting them access to personalized content, services, and features on the website.
In this tutorial blog we are going to create responsive Login and Registration Form Using HTML and CSSÂ
First we need to create basic starting template with required links of CSS CDN links in head section of HTML file.
Responsive Login and Registration Page
Output Screenshot :
@import url('https://fonts.googleapis.com/css2?family=Poppins&display=swap');
*{
margin: 0;
padding: 0;
box-sizing: border-box;
list-style: none;
font-family: 'poppins';
transition: .6s;
}
.container{
min-height: 100vh;
width: 100%;
display: flex;
align-items: center;
justify-content: center;
background-color: #215899;
}
.login-container{
position: absolute;
top: 0;
left: 0;
z-index: 9;
}
.registration-container{
transform: scale(0);
opacity: 0;
}
.login-wrapper{
height: 580px;
width: 980px;
background-color: #f0f5ff;
display: flex;
gap: 12px;
border-radius: 12px;
position: relative;
overflow: hidden;
}
.image{
height: 580px;
width: 60%;
background-color: #418bf0;
display: flex;
align-items: center;
justify-content: center;
border-top-left-radius: 12px;
border-bottom-left-radius: 12px;
}
.content{
width: 50%;
display: flex;
flex-direction: column;
gap: 25px;
padding: 5% 3%;
}
.card{
display: flex;
gap: 20px;
height: 100%;
width: 100%;
}
.image img{
height: 90%;
width: 125%;
}
h2{
color: #418bf0;
font-size: 3rem;
-webkit-text-stroke-width: 0.5px;
margin-top: 15px;
}
.box{
height: 40px;
width: 100%;
position: relative;
}
input{
width: 100%;
height: 45px;
border: 1px solid #417fd6;
border-radius: 30px;
outline: none;
font-size: 14px;
padding-left: 14px !important;
}
i{
position: absolute;
top: 12px;
right: 20px;
z-index: 1;
color: #417fd6;
}
input[type="checkbox"]{
height: 15px;
width: 15px;
margin-right: 5px;
margin-left: 10px;
margin-top: 5px;
}
button{
height: 45px;
border: 0.5px solid #418bf0;
border-radius: 30px;
background: #418bf0;
color: #fff;
font-size: 1.3rem;
cursor: pointer;
-webkit-text-stroke-width: 0.5px;
}
button:hover{
background-color: #215899;
}
p , p a {
font-size: 16px;
}
p a{
color: #225899;
margin-left: 8px;
margin-top: 18px;
}
#img2{
height: 82%;
width: 110%;
}
@media screen and (max-width:900px) {
h2{
margin-top: 40px;
}
.card{
flex-direction: column;
padding: 0 6%;
}
.login-wrapper{
height: 580px;
width: 580px;
}
.image{
display: none;
}
.content{
width: 100%;
}
}
@media screen and (max-width:768px) {
.login-wrapper{
width: 380px;
}
let login_link = document.querySelector("#link_log")
let regis_link = document.querySelector("#link_reg")
let regis_container = document.querySelector(".registration-container")
let login_container = document.querySelector(".login-container")
regis_link.addEventListener("click",function(){
regis_container.classList.toggle("regis_call")
login_container.classList.toggle("login-ref")
})
login_link.addEventListener("click",function(){
regis_container.classList.toggle("regis_ref")
login_container.classList.toggle("login-call")
})

.login-ref{
opacity: 0;
transform: scale(0);
z-index: -1;
}
.regis_call{
opacity: 1;
transform: scale(1);
}
.regis_ref{
opacity: 0;
transform: scale(0);
z-index: -1;
}
.login-call{
opacity: 1;
transform: scale(1);
z-index: 9;
}
Below Tutorial for beginners How To Create Responsive Login Page Using HTML And CSSÂ
click on video to view and Don’t Forget to subscribe Our ChannelÂ
Below The outputÂ
© 2024. All rights reserved by trueweblogic.